How to feel confident applying makeup to your rosacea.
Makeup has the amazing transformational ability to help us feel more confident, thanks to being able to hide and conceal spots, enhance our greatest features and be an outlet for creativity and fun. It’s also a gamechanger for those of you with rosacea (an inflammatory skin condition that causes redness). Many of my clients who suffer from rosacea say their top struggle is not knowing how to apply makeup without it looking cakey and thick. So I’m going to share my top tips on how best to apply your makeup to cover any redness. But full disclaimer: as a makeup artist I’m not a beautician or dermatologist so I can’t give much skincare advice, but do make sure your skin is always nicely cleansed and moisturised before you start to do your makeup. I’ve also made some product recommendations but they are just suggestions, so if you already have products that work for you, there’s no need to purchase new ones, you can just follow my application tips.
Read more: 8 Top Tips From A Hong Kong Makeup Artist
Step 1: Primer
As your skin can be irritated by different products, I like the idea of a primer that creates a barrier between your skin and makeup. It has the added benefit of taking down redness, minimising pores, adding some extra moisture and allowing your makeup to last longer (plus it can also contain a built in SPF).
Product recommendations
- Hourglass Veil Mineral Primer, available online from Selfridges for $400
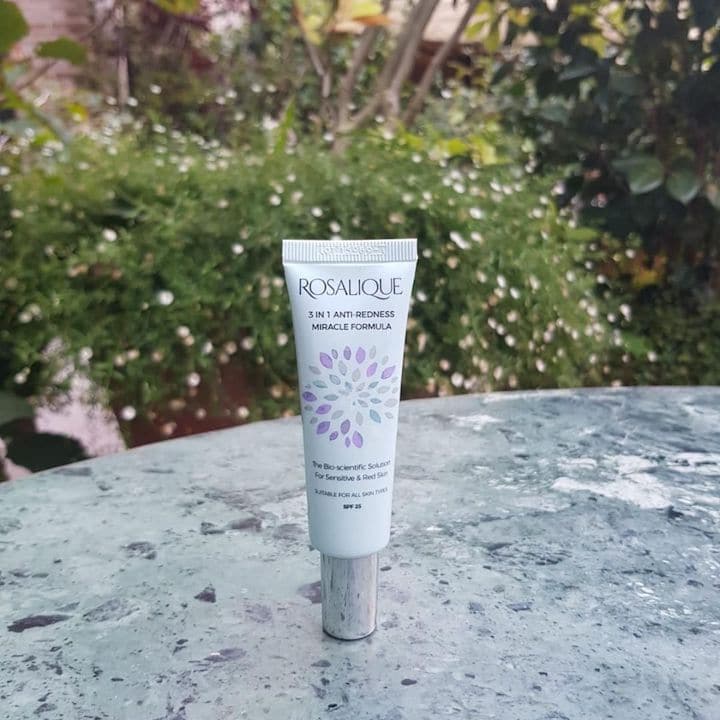
- Rosalique 3 in 1 Anti-Redness Miracle Formula SPF25, available online from allbeauty for $307
Application
Apply your primer all over your face with a foundation brush, starting from your forehead down to your neck. I like to work my brush in downwards motions, then buff it so you know it’s totally absorbed into your skin. This alone will make a big difference to the redness of your skin. Use the top of your hand as your “artist’s palette”. Squeeze, pump, or dab the product onto your hand first, then apply to your face, this way you can easily control how much you put on your face (and if needed, you can add more as you go).
Step 2: Foundation
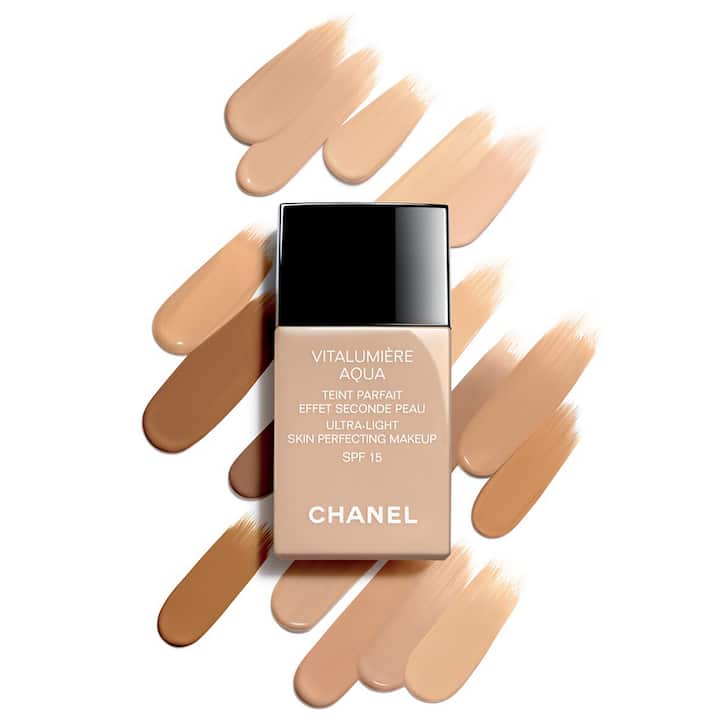
A lot of people apply their concealer first and then their foundation, but try doing the opposite. Why? Because applying a layer of foundation first can balance the skin tone out, which means you then need to use less concealer (which will also stop your skin looking cakey). In the areas where you do need extra coverage after your foundation, go in with your concealer. I totally believe in makeup that enhances your skin, rather than masking it, so start with light layers and build up as needed. I 100% recommend lightweight-based foundations, rather than full coverage. Your skin needs to breathe, so heavy foundations that are too thick can be a recipe for disaster. If you need extra coverage that’s the job of your concealer!
Product recommendations
- MAC Studio Face and Body, available online or in store from MAC for $310
- Charlotte Tilbury Light Wonder SPF15, available online from Lane Crawford for $400
- Chanel Vitalumière Aqua, available online from Selfridges for $305
Application
Like your primer, apply from the top of your forehead and first work down one side of your face, then the other (blending down to your neckline). Remember to really work the foundation into your skin so you don’t leave any streaks, or uneven skin. If you feel you only need foundation on certain areas of your face, then just apply there (you don’t need to cover your entire face if you don’t need or want too). Remember to blend, blend, blend!
Read more: A Makeup Artist’s Guide To Picking The Perfect Foundation
Step 3: Concealer
This is the most important part of your coverage application. Get the steps right and you’ll feel a weight lifted off your shoulders, so you’ll be ready to go about your day feeling confident in your skin. Also remember the primer and foundation will already be making a combined effort to reduce the redness, so your job is already half done and you shouldn’t need too much concealer.
Product recommendation
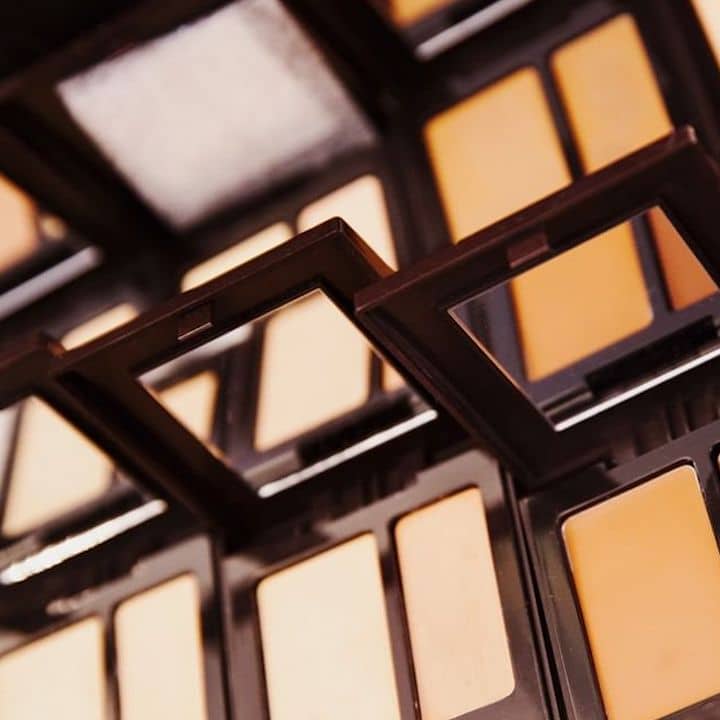
- Laura Mercier Secret Camouflage (shades SC3 and SC4 are the most common shades I use for light to medium/tanned skin tones), available online from Selfridges for $235
Application
As concealer is made to have thick coverage, I like to mix equal parts of my concealer and foundation together before I apply to the face. Mix both colours of the concealer (if you’re using the Laura Mercier one suggested above) on the top of your hand, then add the same amount of your foundation to get a smooth consistency from both products. Use a concealer brush and load it up with the mix. Then lightly dab or tap your brush onto any areas where you need extra coverage. Once you are happy with the coverage, swap back to using your foundation brush (ideally a dome shaped brush) and go back over to blend your concealer with the rest of your face. Just make sure you dab to blend, swiping will remove all your hard work.
Step 4: Powder
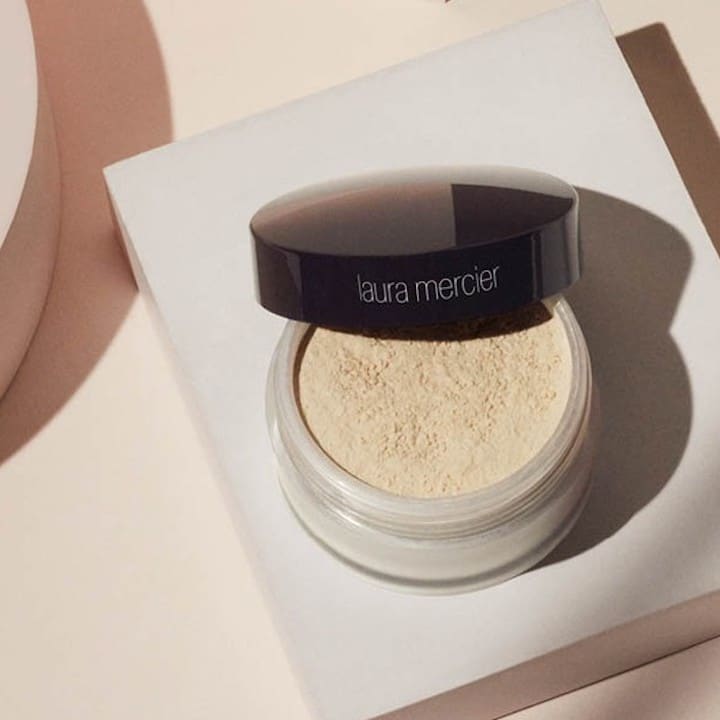
To ensure your concealer and foundation stays in place, powder is the final step to achieve perfection. Before you get nervous about it making your foundation look powdery and thick, I highly recommend translucent setting powder. It’s super fine so there’s no chance of it looking powdery. I like to use a small domed blending brush to concentrate on the areas that need powder only.
Product recommendations:
- Laura Mercier Loose Setting Powder, available online from Selfridges for $245
- MAC Prep+Prime Transparent Finishing Powder, available online or in store from MAC for $260
Application
Load your brush up with the powder (ensuring you tap off any excess) and use light circular motions to apply your powder to the areas that were concealed. This will also help reduce shine.
And done! Those are my four steps for helping to cover rosacea. I hope it helps give you a bit more confidence as you apply and wear your makeup.
Read more: A Makeup Artist’s Guide To Keeping Your Look Fresh In The HK Heat
Featured image courtesy of Stocksy, image 1 courtesy of Rosalique via Instagram, image 2 courtesy of Chanel via Instagram, image 3 courtesy of Laura Mercier via Instagram, image 4 courtesy of Laura Mercier via Instagram.



 Eat & Drink



 Travel

 Style
Style


 Beauty
 Health & Wellness


 Home & Decor


 Lifestyle

 Weddings

