Chinese New Year is almost here, and with all of Hong Kong decked out in red and gold, it’s a great time to add some festive colour to your nails with a little DIY nail art! So here’s another how-to guide to two great CNY DIY manis…
RED & GOLD
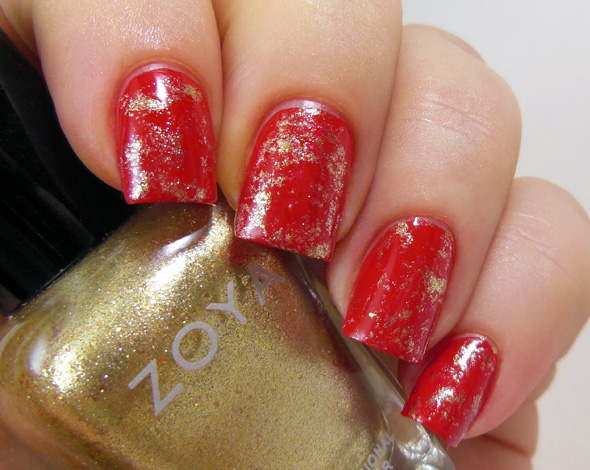
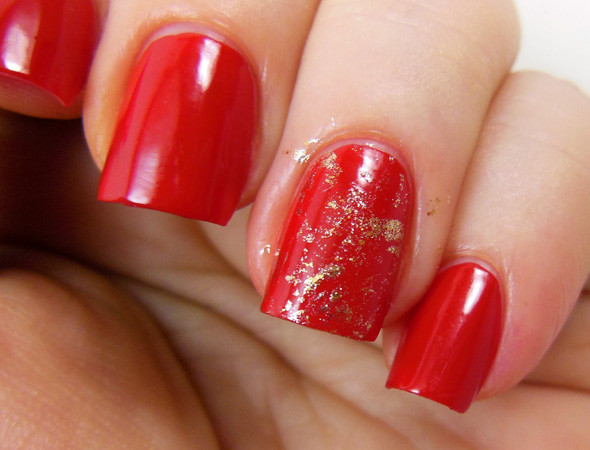
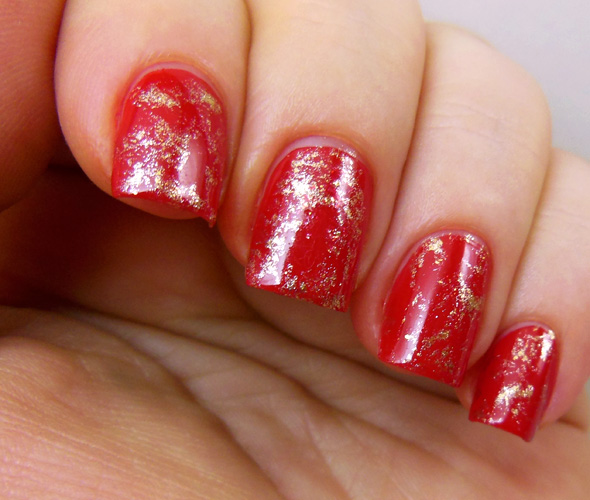
You don’t need to buy a lot of fancy tools or be able to paint masterpieces to do nail art at home. In fact, for this first design, all you need is a little bit of cling film wrap! The technique is simply called a saran wrap manicure, and it’s one of my favourites to do. The results look so finely detailed, but the technique itself is actually very simple. It works very well with just about any colour combination too, including my seasonal pick of red and gold. Unfortunately, since the gold is so reflective, these didn’t photograph as well as I’d have liked, but in “real life” they looked fantastic!
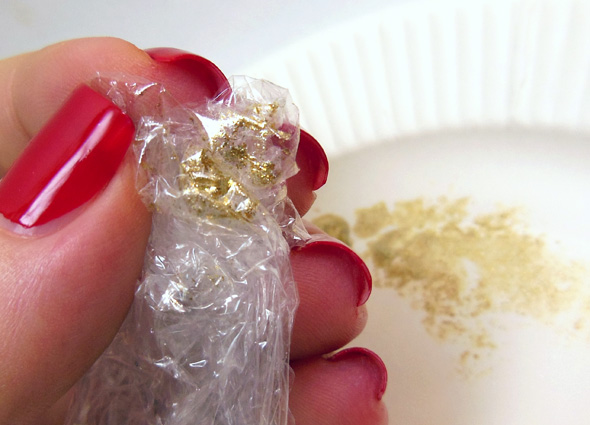
1. As always, start with your base coat, then paint your nails any shade of red you like (I used Revlon Fire, from Watson’s). Once that’s dry, put a little bit of gold polish (I picked Zoya Ziv, from Cher2) on a paper plate or similar. Take some cling film and wad it into a bunch – that’s what you’re going to use to apply the gold with, letting the little folds and creases create the design. Dip the plastic wrap into your gold polish, and blot it on your paper plate to get rid of the excess.
2. Lightly dab a few spots around your nail to apply the gold. I find that less is more with this technique, so be a bit conservative in how much you apply, especially at the start. Too much, and it starts to look blobby, but with just a bit of coverage you get a nice veined look, like marble or stone. If you do wind up with more gold than you like, you can wait for it to dry, then dab some of your red back over it, but you will be able to control your results much better with a lighter hand from the start.
3. That’s pretty much all there is to it! Repeat on your other nails, changing your cling film every nail or so. Then let it dry, add your top coat, and you’re done! For a deeper, more textured look you can add more colours (such as a darker red or a bold black) either under or over your gold. I typically use 3 or 4 colours when I do saran wrap nails, but for this design – especially for CNY – the red and gold looked great all by themselves.
CNY FLOWERS
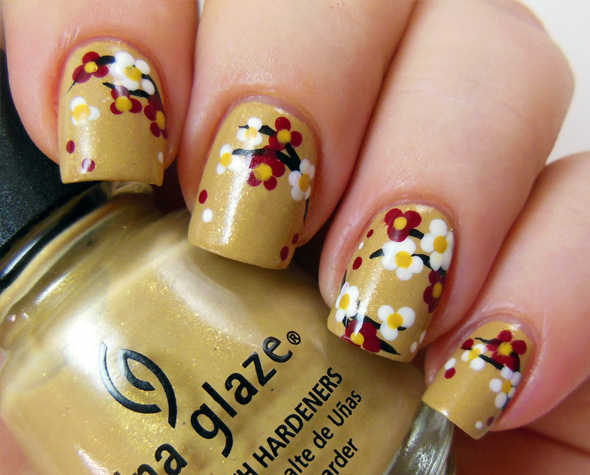
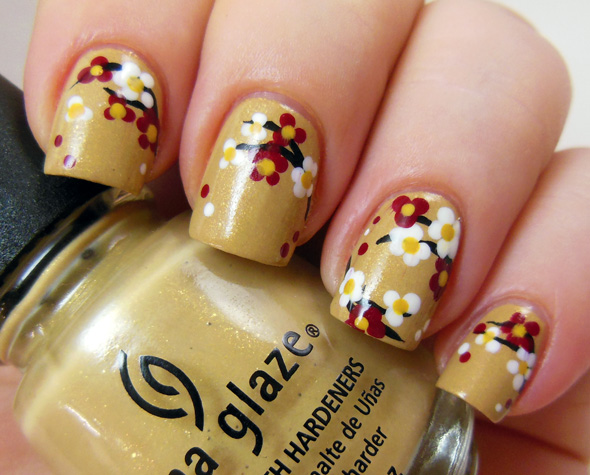
This second design for New Year’s nails is another one of my favourite styles to do. It is a little bit more detailed, but when you break it down, it’s not nearly as complicated as it might seem to add some colourful flower blossoms to your fingernails!
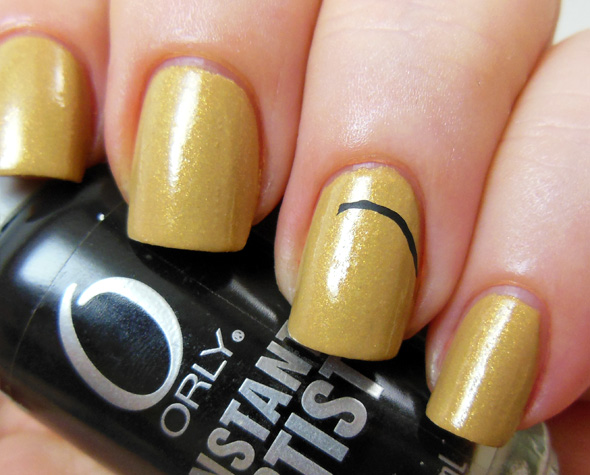
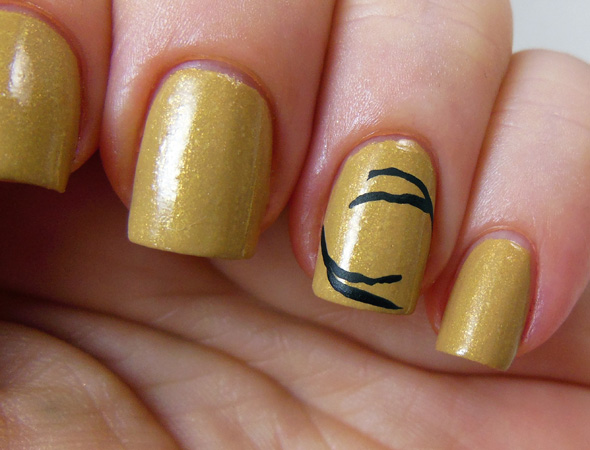
1. After your base coat, paint your nails a nice tan or golden colour. I used China Glaze Classic Camel, but any soft neutral or light gold should do just fine. Once that’s dry, you’re going to add some black or brown branches for your flowers. This step is very easy with a nail art striper polish (this Orly striper in Jet Black is another Cher2 find), but you could also do these with regular polish and either a fine paintbrush or by stippling the lines with a dotting tool or toothpick. Start with your main branch.
2. Then add another one, coming off of it. For this manicure, I decided to add extra branches at the tip of my ring finger and thumb, but that’s really optional (I actually think they look quite nice with just the branches at the base). And don’t worry if these branches don’t come out exactly as you want – they’ll mostly be covered by flowers, so you don’t need to worry about making them perfect.
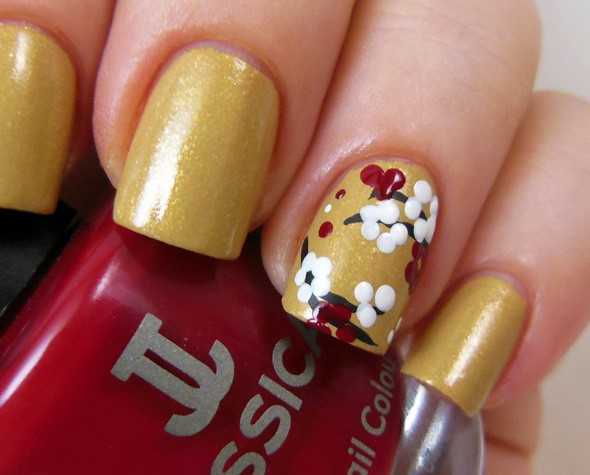
3. After your branches are done, it’s time to start adding the flowers! These are done with a dotting tool (or if you don’t have one, a toothpick, the end of a bobby pin, a dried up ballpoint pen… whatever you can find!). Place a little bit of red and an opaque white polish on a paper plate (I used Bandi Snow White, from Colormix, and Jessica Winter Berry, from Cher2). Dip your dotting tool into either and make five small dots in a circle. Then wipe the excess polish off your tool and repeat with the other colour.
4. Continue down the branches, switching to 3-dot bunches towards the ends. You can also add a couple of tiny extra dots down the side, like little falling petals.
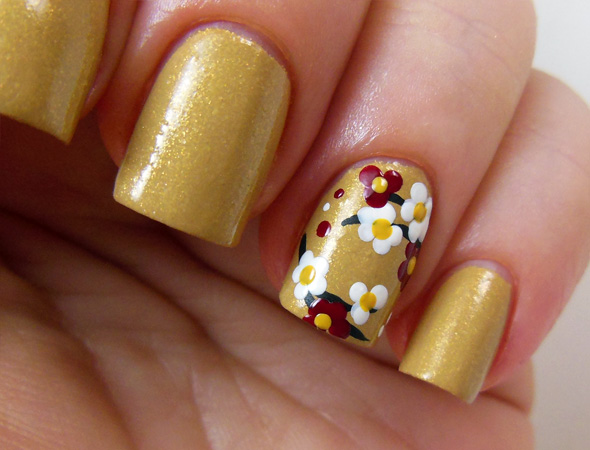
5. After those have dried a bit, place some small, yellow dots in the centres (I used Bourjois Jaune Trendy, from Watson’s).
6. Once you’ve done all your nails and let them dry, it’s time to add top coat (minimize smudging by being careful to brush lightly and trying not to brush over the same place more than once), and your flowering branch nails are done!
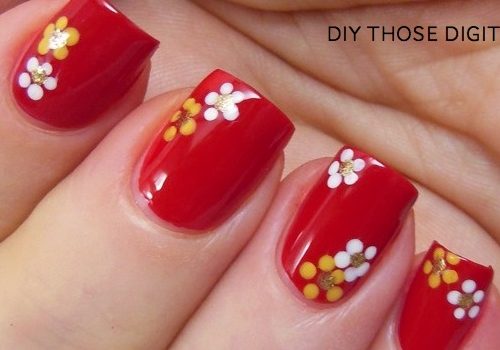
Of course you don’t have to follow my exact colours or design to come up with some great nails of your own for Chinese New Year (you can see another version I did with a red base coat up top!). For instance, if you like the look of the flowers but don’t want to do something quite as involved as the branches… or like the branches but want to mix the colours up a bit… once you know a few simple nail art techniques, the possibilities are endless!
Happy New Year, everyone! Kung Hei Fat Choi!
A New Orleans native, Elizabeth has been happy to call Hongkers home since 2007. She’s recently developed an addiction to nail polish and all things sparkly, and is rarely happier than when she’s belting out show tunes… Because she’s cool like that.
Check out Elizabeth’s awesome blog, Did My Nails, for more mani inspiration!


 Eat & Drink


 Travel



 Style
Style


 Beauty


 Health & Wellness


 Home & Decor


 Lifestyle

 Weddings

